Self-learning
Unit 2 – Basic Clearing
Basic Clearing is an assessment tool to obtain a holistic overview of a person’s life situation and to see where and to what extent there is a need for support in relation to a specific goal.
Basic Clearing can be a starting point for the counselling approach of EJO4Youth or it can also be used to learn more about the achievement of personal aims. People can visualise very clearly in which areas of life they feel safe and in which they do not, in relation to their goal.
With this intervention, people can also work out initial ideas for possible solutions, or if there are indications of topics for further needs or interests to clarify. This might be supported through the other interventions of the EJO4Youth approach, detailed in the upcoming units.
Knowledge
Learners know how to:
- explain the benefits and name the goal of working with “Basic Clearing”
- describe the methodology and to work efficiently with the “Basic Clearing” concept
- work independently with their clients on goal clarification
- use the material to guide their clients through this important first step of the counselling process
Skills
Learners are able to:
- act independently to help their clients define their individual goals by encouraging them to choose symbols for the relevant aspects
- support the client in developing an action plan
- conduct the counselling interview independently, to be able to determine together with the client the level of counselling required after the “Basic Clearing”
Competences
Learners have the competence to:
- independently prepare and structure the “Basic Clearing Process” in order to guide clients through this process professionally using the material
- actively initiate sessions with other practitioners/colleagues to practice the method, to exchange experiences and to inform each other about results.
Basic Clearing
For Basic Clearing you need various materials, as listed below. For the session, the practitioner and client work with different areas of their life, as well as a “What else?” section to cover any issues which might not be part of the other categories.
With these areas on one workpad, the practitioner and client work together to establish a visualisation of the client’s life and current situation and thus, how the client might improve or change it.
The materials
Workpad
The work pad is structured like an atom, with a goal at the center and relevant aspects of the person’s live surrounding it. These relevant aspects of life can be adapted to the client’s situation.
It is also possible to write the goal and the aspects of life on round papers. In the counselling session on the following picture, the client experienced the flexibility with the moving areas of life as very pleasant, as she could also make changes in the arrangement. The new arrangement was very helpful in developing the solution ideas.
Symbols
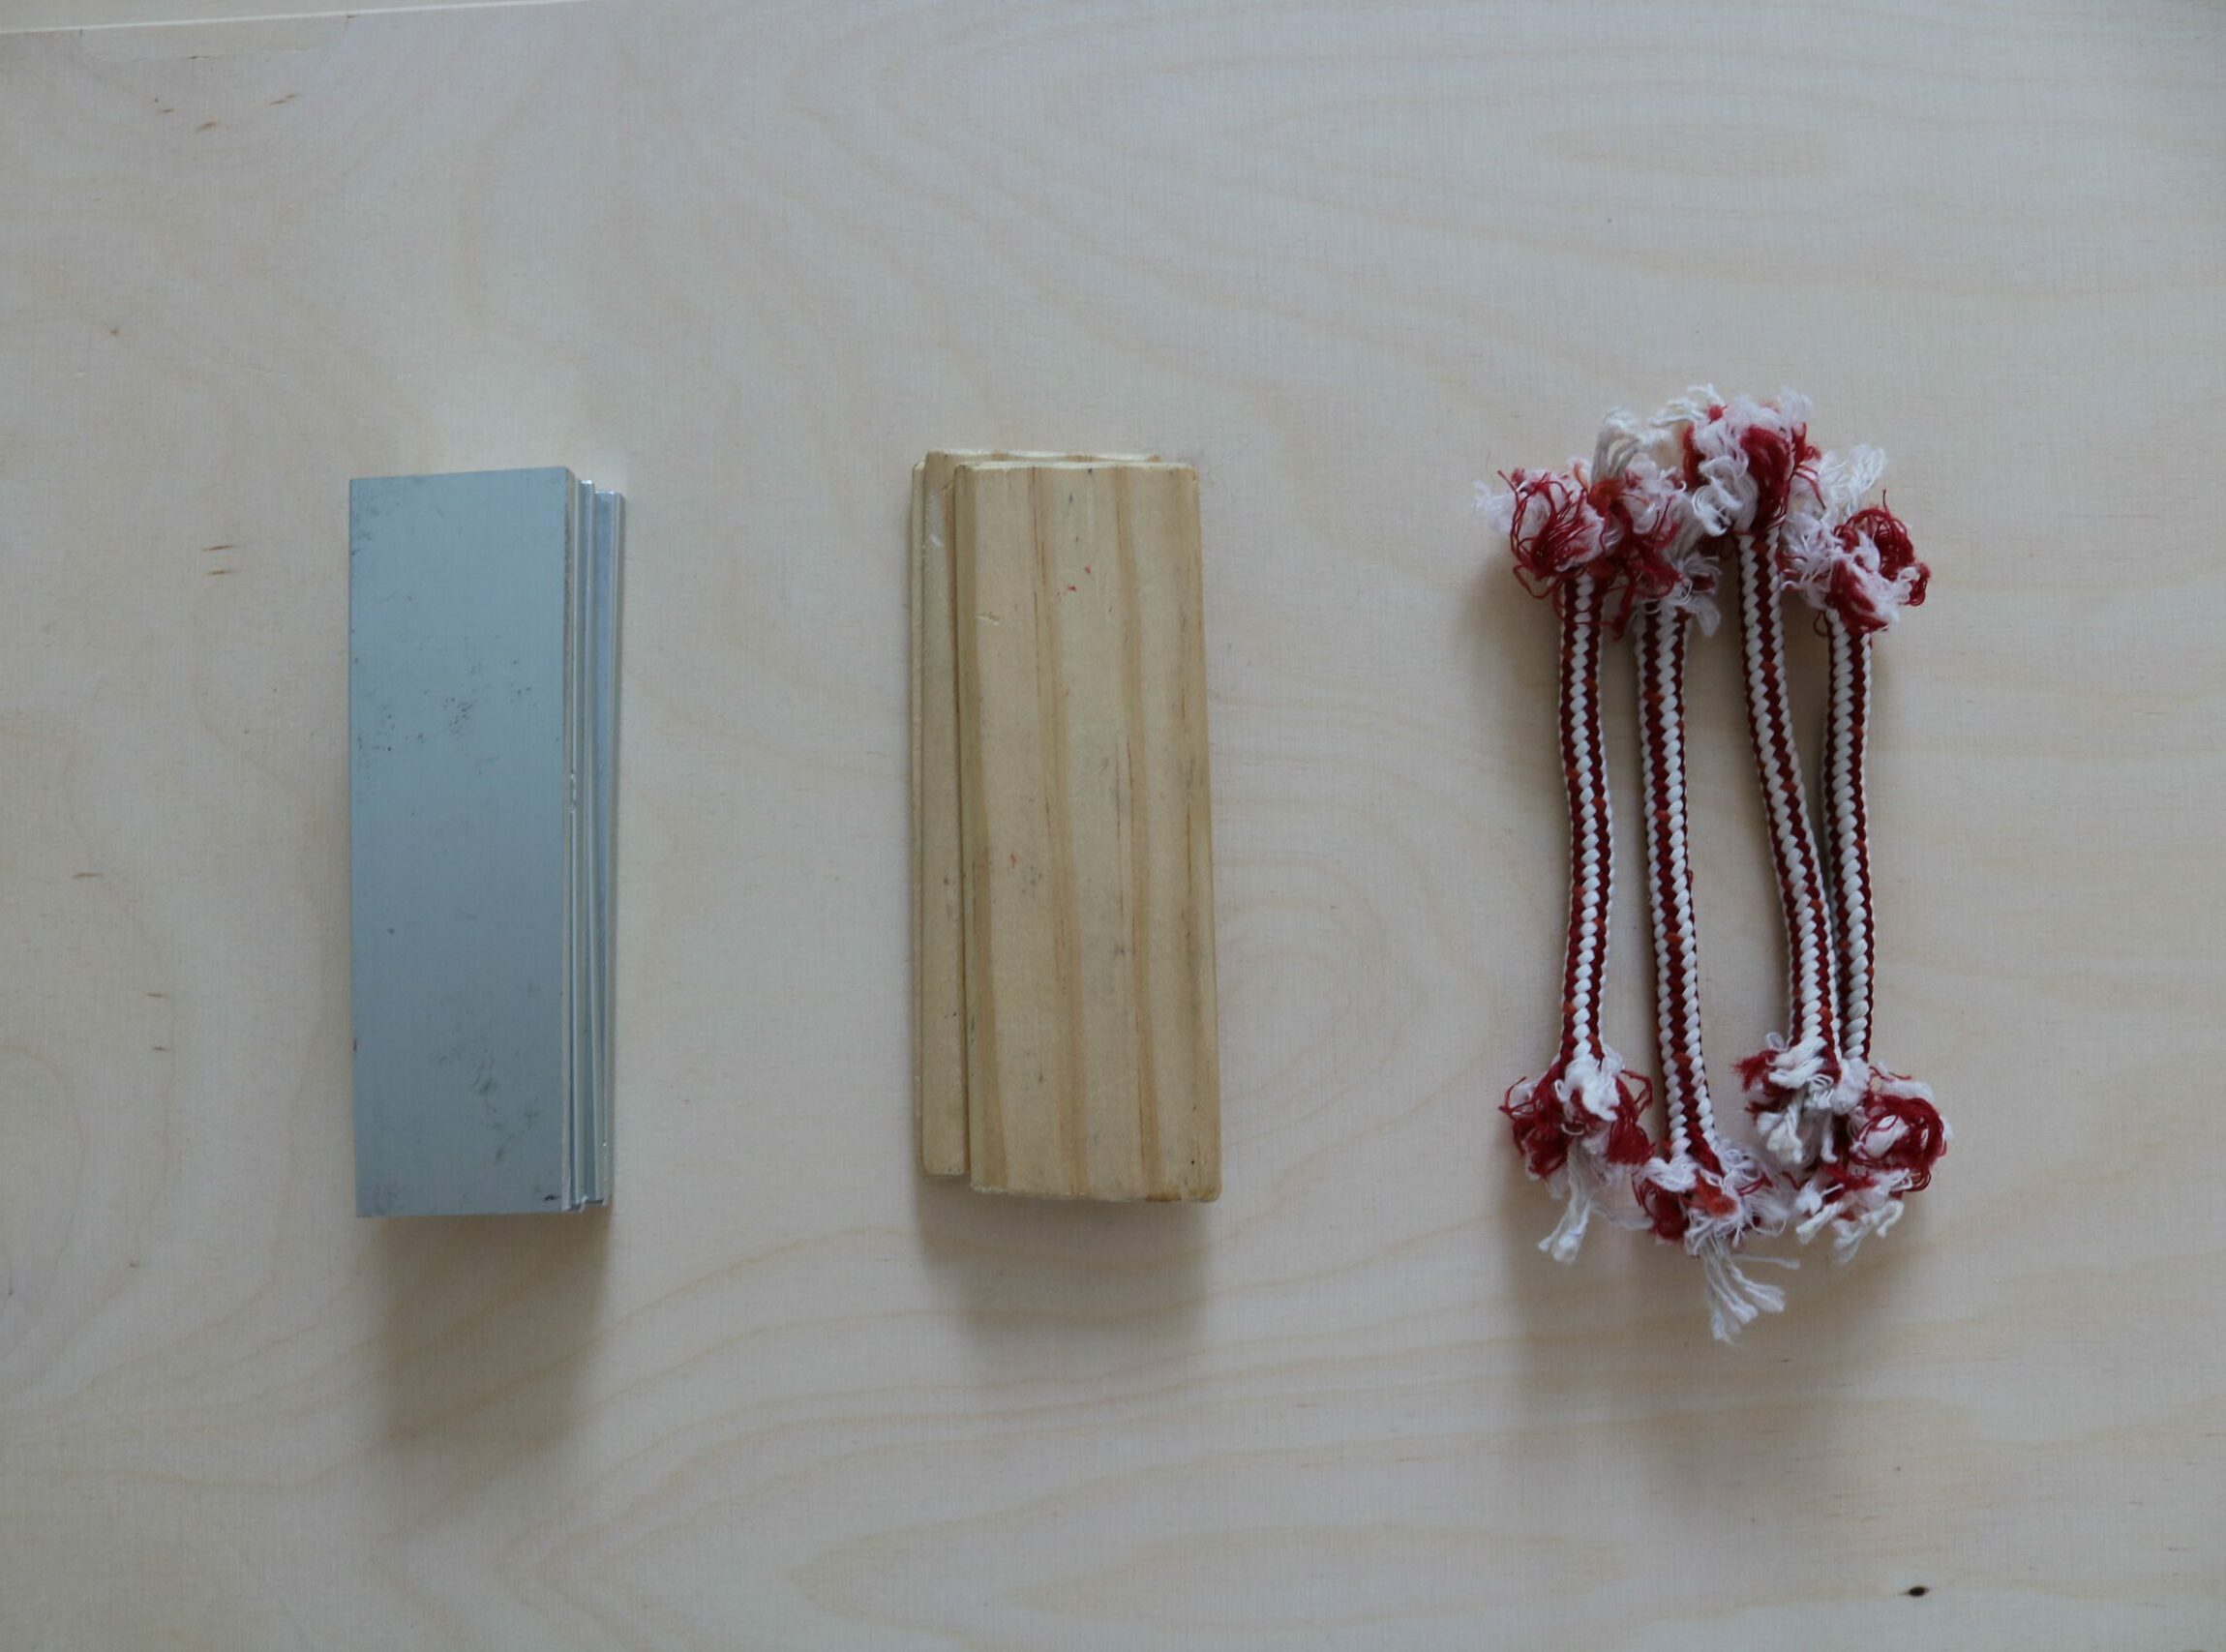
For the Basic Clearing method, you will need a set of symbols. We recommend a set of approximately 200 symbols to allow the client to choose more freely and find a good representing symbol for their interpretation. You can refer to the list of possible symbols you received in Unit 1.
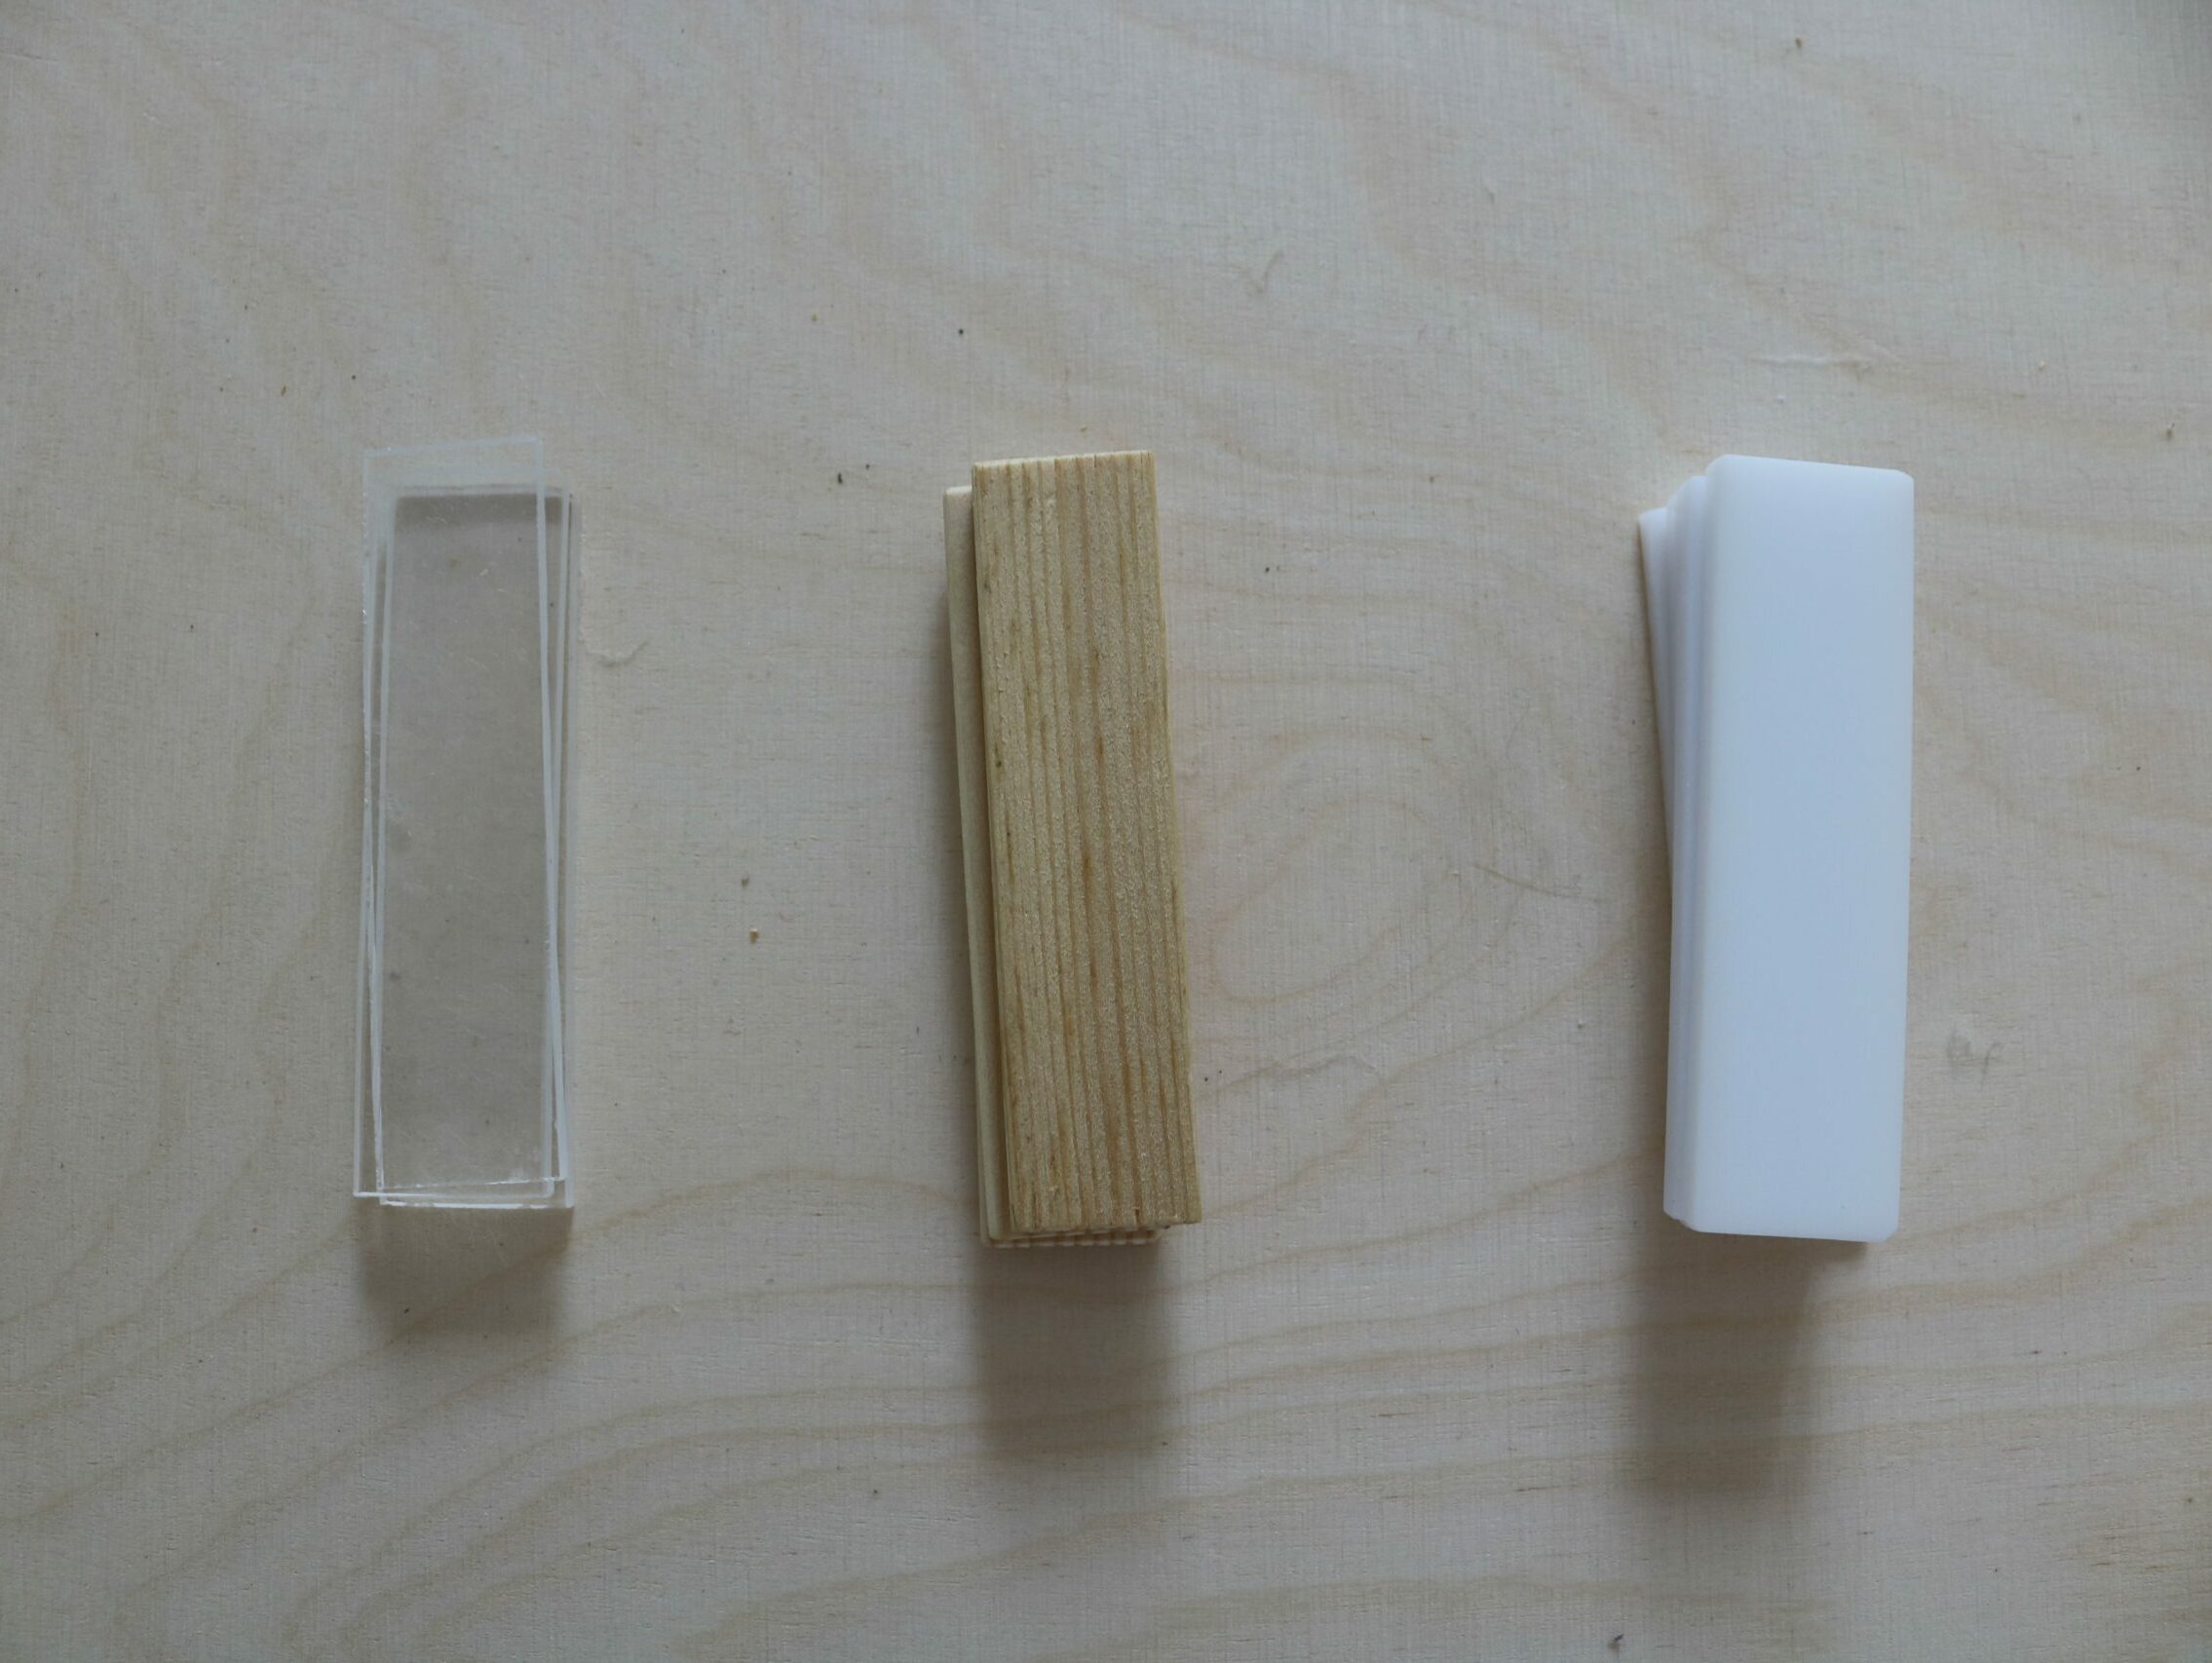
3 different sticks
3 different sticks with the meaning of “solid ground”, “thick ice”, and “thin ice”.
- Solid ground (wooden stick): Feeling stable and safe.
- Thick ice (white stick): Feeling somewhat stable and safe but some areas are unsure.
- Thin ice (transparent stick): Very unsure of the area.
Relevant aspects are:
- Living
- Support
- Health
- Education and training
- Work/ volunteer experience
- What else?
As a rule, we determine six relevant aspects with the client. Please always use the aspect ‘what else?’ as this is often used to refer to special and important things or things not covered in the 6 aspects.
Some aspects need to be explained: for example “living” stands for:
- How satisfied are you with your housing situation?
- How reliable and predictable is it?
The area of “Support” refers to support from family, friends, the support system or other people in your private or professional life.
Process of counselling with the Basic Clearing
- Presentation
- Factual questions
- Perception
- Interpretation
- Action Plan and agreement
Preparation
The EJO4Youth practitioner explains the intervention to the client:
- the idea of the counselling interventions
- the materials to be used
- the counselling steps
This allows for the client to feel more comfortable and in control of what is happening, as they also know what the steps of the session are.
Goal setting
The client discloses his aim to the practitioner. This should be something they want to realise about themselves or a goal they want to achieve.
Once set, the client chooses one or more symbols for their aim and they put the chosen symbols in the centre of the workpad. In some cases, the practitioner and the client may need to clarify or reformulate this goal if it is too unclear, unachievable, or not appropriate.
The goal should be a clear sentence, and should not be a long explanation of what they want to achieve.
Choosing symbols for each aspect
After setting the goal, the client is asked to choose symbols for each aspect represented in the workpad.
As the client works through the sheet they select symbols that they feel represent each of the areas on the page relevant to their own lives.
In some cases, clients may leave some areas without a symbol, which also gives certain meaning and shows how their life is organised or what situation they are in.
In this phase the practitioner (and the group) leave the client alone to think about the symbols and their meaning for them.
Have you completed all the content of this unit? Please take a moment to review. Done? Please proceed to Unit 3.
For any open questions, please consult the Resource tab or contact your course leader.


